Ever wonder why so many bathroom projects stall halfway through or cost more than planned? Bathroom renovations rank among the most common home improvement projects, yet they also top the list for delays when planning is unclear.
A well-managed shower installation avoids those setbacks and keeps daily routines intact. At Bath Replacers, we help homeowners replace worn tubs and outdated showers with practical, well-built solutions that fit real needs.
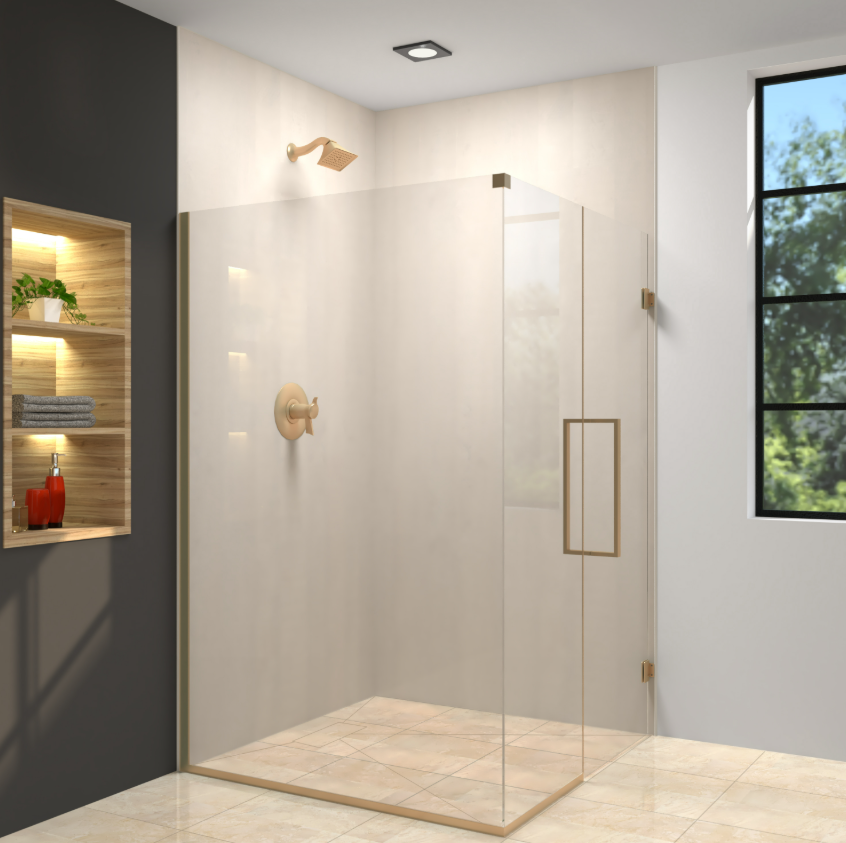
Below, we outline what to expect from start to finish and how working with experienced professionals makes the process far more predictable. This guide covers preparation, installation steps, timelines, and coordination tips.
Step 1: Assessing the Existing Space
Every smooth shower installation starts with a clear review of what is already in place. We recommend checking:
- Plumbing access and condition
- Wall structure and subfloor stability
- Existing tub or shower dimensions
- Ventilation and moisture control
If a tub is being replaced, this early stage helps determine whether a bathroom tub to shower conversion in Rye Brook style layout or a more open walk-in option is practical for the space.
Step 2: Finalizing the Design and Materials
Before any work begins, details must be locked in. This avoids mid-project changes that slow progress.
Key decisions include:
- Shower size and entry style
- Wall panels or tile selection
- Fixtures that meet daily use needs
- Drain placement and water flow
Homeowners considering a bathtub conversion to shower in Rye Brook often prioritize ease of access and efficient layouts rather than decorative extras.
Step 3: Preparing for Installation Day
Preparation helps the installation stay on schedule. We usually advise homeowners to:
- Clear nearby areas for material access
- Plan for limited bathroom use during work hours
- Confirm timelines with the remodeling team
A typical tub to walk in shower conversion in Port Chester may take only a few days when preparation is thorough.
Step 4: Removal and Structural Updates
The existing tub or shower is removed first. Any necessary framing or plumbing adjustments follow. This stage is essential for long-term performance, especially during a bathtub to shower conversion in Port Chester where older plumbing may need updates.
Step 5: Installing the New Shower
With the structure ready, installation moves quickly:
- Shower base is set and leveled
- Wall systems or tile are installed
- Fixtures and doors are secured
- Waterproofing checks are completed
This phase defines the quality of the finished shower installation.
Step 6: Final Inspection and Clean-Up
Before the project wraps up, professionals should test water flow, drainage, and seals. A clean worksite signals that the job is complete and ready for daily use.
Why Planning and Professional Coordination Matter
Clear communication keeps expectations realistic. We suggest asking contractors about timelines, daily access needs, and post-install care. Short check-ins prevent misunderstandings and help the project stay on track.
Ready for a Bathroom That Works Better Every Day?
What would it feel like to step into a shower designed around your daily routine instead of an outdated tub?
At Bath Replacers, we focus on efficient conversions, durable materials, and straightforward project management. We guide homeowners through each step and address layout or access concerns with practical solutions.
Contact us to discuss your shower goals and learn how our team can turn an aging bathroom into a space that functions better without unnecessary disruption.
